Are you looking to improve your home’s energy efficiency and lower your utility bills? Installing foam board insulation can be a highly effective solution. This comprehensive guide will walk you through professional methods for installing foam board insulation, covering everything from choosing the right materials to step-by-step installation techniques. While this is a DIY-friendly project for many, proper installation is key for optimal results. If you are unsure about handling this project yourself.
Understanding Foam Board Insulation
Rigid foam board insulation is a highly effective solution for improving your home’s thermal efficiency. Available in different types—Expanded Polystyrene (EPS), Extruded Polystyrene (XPS), and Polyisocyanurate (Polyiso)—each offers unique benefits. Our expert insulation services ensure you choose the right option for maximum energy savings.
Types of Foam Board Insulation
- EPS (Expanded Polystyrene): A cost-effective option with good insulation value, often used in below-grade applications and exterior sheathing.
- XPS (Extruded Polystyrene): Offers higher R-value and moisture resistance compared to EPS, making it suitable for foundation walls and under concrete slabs.
- Polyiso (Polyisocyanurate): Provides the highest R-value per inch among the three, often used for roofing and wall applications.
Which type is best? Consider the specific application and the desired R-value for your project. For example details a comparison of the different foam board types and their ideal uses.
Choosing the Right Thickness
Selecting the correct thickness is crucial for achieving the desired R-value and meeting local building codes. Refer to the U.S. Department of Energy’s climate zone map to determine your zone and the recommended insulation levels. Thicker foam board offers higher R-value and better insulation, but cost and space constraints should also be considered. Proper insulation significantly impacts your energy bills, saving you money in the long run.
Now’s a great time to ensure you’re making informed decisions for your home!.We can help you determine the right type and thickness of foam board insulation for your specific needs.
Is your attic driving up energy costs and making your home uncomfortable? If you’re facing high utility bills, uneven room temperatures, or signs of attic damage, it may be time to replace your insulation. Quality attic insulation is key to maintaining a cozy home and improving energy efficiency. This guide covers everything you need to know—from recognizing when it’s time for an upgrade to selecting the best materials and hiring a trusted contractor.Read the full guide here: Attic Insulation Replacement .
Tools and Materials You’ll Need
Before you start, gather these essential tools and materials:
- Foam board insulation sheets
- Safety glasses
- Utility knife or saw
- Measuring tape
- Straight edge or level
- Construction adhesive
- Foam board tape
- Caulk gun and sealant
- Gloves
- Dust mask
Preparation is Key: Before You Begin
Proper preparation ensures a smooth and successful installation.
Inspecting the Area
Thoroughly inspect the area where you plan to install the foam board. Ensure the surface is clean, dry, and free from debris. Repair any existing damage, such as cracks or leaks, before proceeding. Look for signs of moisture or mold, addressing these issues before insulating. Addressing moisture issues is very important .
Are you finding any issues while inspecting your area? We can help! Call us for a comprehensive inspection.
Measuring and Cutting Foam Board
Accurate measurements are essential for a snug fit. Measure the area to be insulated and transfer those measurements to the foam board. Use a utility knife or saw and a straight edge to cut the foam board precisely. Aim for clean, straight cuts to minimize gaps. Always prioritize accuracy to prevent costly mistakes.
Step-by-Step Installation Guide
Follow these instructions for installing foam board on walls:
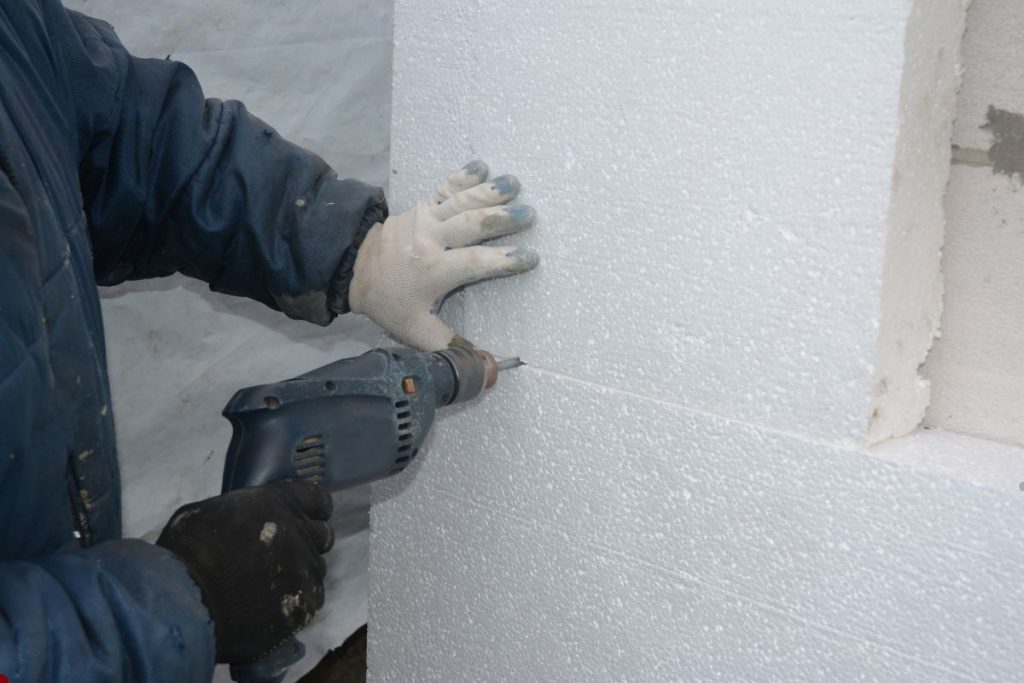
Installing Foam Board on Walls
- Apply construction adhesive to the back of the foam board in a consistent pattern.
- Press the foam board firmly against the wall, ensuring it is flush with adjacent boards.
- Use foam board tape to seal the seams between the boards, creating an airtight barrier.
- Continue this process until the entire wall is covered.
For exterior walls, consider using a weather-resistant barrier membrane under the foam board.
Installing Foam Board on Ceilings and Roofs
- For ceilings, use construction adhesive and mechanical fasteners to secure the foam board in place.
- When insulating roofs, consider adding ventilation to prevent moisture buildup.
- Overlap seams and seal them with foam board tape to create an airtight and watertight barrier.
For more details about how foam board can benefit ceiling and roofs here more insights [insert external link – A helpful guide from a reputable source on ceiling and roof insulation].
Sealing and Finishing
Sealing the Seams
Sealing the seams is critical to prevent air leakage. Use foam board tape designed specifically for this purpose. Apply the tape carefully, ensuring it adheres tightly to the foam board. For added protection, consider using caulk to seal any remaining gaps. Proper sealing maximizes the insulation’s effectiveness.
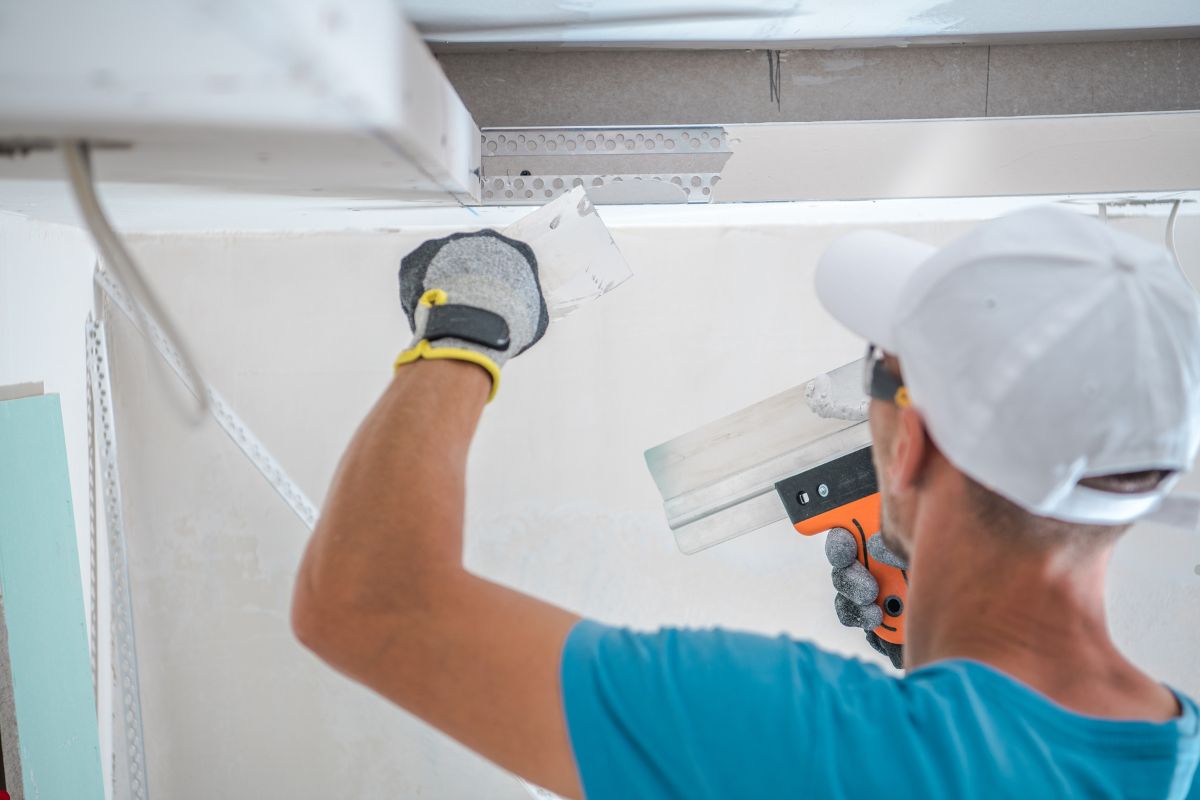
Finishing Options
After installing foam board, you can finish the surface with drywall, siding, or other materials. Ensure the finishing material is compatible with foam board and won’t damage it. When using drywall, apply furring strips to create a nailing surface. Correct finishing is key for long-term durability.
Safety Precautions
Safety should always come first when installing foam board insulation. Wear protective gear, including safety glasses, gloves, and a dust mask, to shield yourself from debris and potential irritants. Ensure proper ventilation to avoid inhaling fumes and handle sharp tools with care. Prioritizing safety creates a secure work environment. For professional installation and expert assistance, call us today!
Troubleshooting Common Issues
Common issues during foam board installation include:
- Gaps: Fill any gaps with caulk or foam board tape.
- Moisture: Address any moisture issues before insulating.
- Incorrect Cutting: Remeasure and recut the foam board to fit properly.
Maintenance and Longevity
To prolong the life of your foam board insulation, protect it from physical damage. Avoid puncturing or compressing the foam board. Regularly inspect the insulation for signs of damage or deterioration. Repair any issues promptly to maintain its effectiveness. Proactive maintenance extends the insulation’s lifespan.
Conclusion
Foam board insulation is an excellent choice for improving energy efficiency and lowering utility bills. By following these professional methods, you can successfully install foam board insulation in your home. Remember, a professional installation ensures optimal performance, but if you’re comfortable with DIY projects, this guide offers the knowledge to get the job done right.
FAQs
What is the R-value of foam board insulation?
The R-value of foam board insulation varies depending on the type and thickness. EPS typically has an R-value of 3.6-4.2 per inch, XPS ranges from 5.0-5.5 per inch, and Polyiso can reach 6.0-8.0 per inch.
Can I install foam board insulation myself?
Yes, you can install foam board insulation yourself, but it requires careful planning, accurate measurements, and attention to detail. If you’re not comfortable with DIY projects, it’s best to hire a professional.
How much does foam board insulation cost?
The cost of foam board insulation varies depending on the type, thickness, and quantity needed. Contact local suppliers for current pricing. Labor costs can also vary widely if you go for professional services; remember to contact us and we can give you a better estimate